How to Give Your Wood Vinyl LVT Floors That Brand New Shine Every Time


A practical cleaning and care guide for South African homes
Wood Vinyl LVT can bring the warmth of timber styling into a home without the same care routine as natural wood. Yet even a well-maintained floor can start to look flat when dust, fine grit, cleaner residue and everyday traffic soften its appearance. Restoring that fresh look is usually less about adding shine and more about cleaning the wear layer correctly.
The safest routine is simple: remove loose dirt, use a clean microfibre mop with a cleaner approved for the specific floor, keep moisture controlled and allow the surface to dry without residue. Before trying any product or stain treatment, check the care instructions supplied by the flooring manufacturer and installer because Wood Vinyl LVT finishes are not all maintained in the same way.
Quick Answer
To make Wood Vinyl LVT look bright and clean, sweep or vacuum away grit, damp mop with a clean microfibre pad and a manufacturer-approved neutral cleaner, then remove any remaining moisture or residue. Do not add wax, oil or a shine product unless the manufacturer specifically permits it.
Why Does Wood Vinyl LVT Lose Its Fresh Appearance?
A dull floor does not always mean the surface is worn out. Fine dust can settle into the texture, while sand and grit may leave tiny marks that scatter light. Too much cleaner can also dry into a faint film, especially when the solution is stronger than the label recommends or the mop water is not changed often enough.
The original Carpet & Decor article correctly emphasised regular sweeping, careful mopping and drying. Those ideas remain central to this updated guide. The important refinement is that cleaning products, spot treatments and any form of polishing must be matched to the exact flooring product rather than treated as universal solutions.
Start by Identifying the Floor and Its Care Instructions
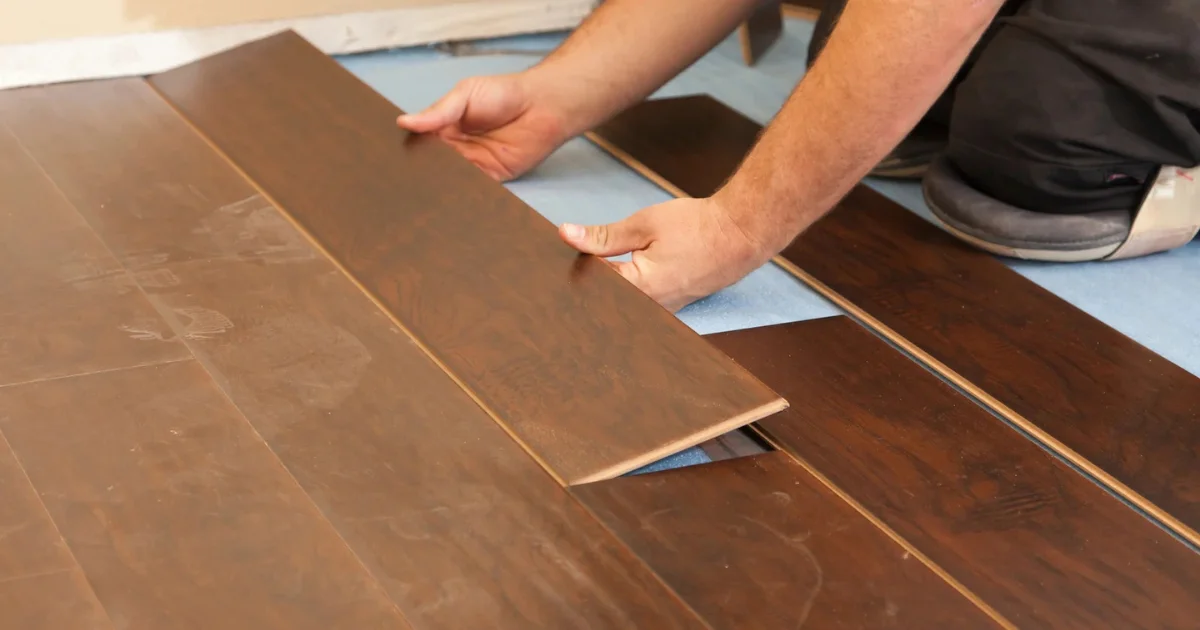
Wood Vinyl LVT is a broad product category. It can include glued planks, click systems and ranges with different factory-applied surface treatments. A method that is approved for one collection may be unsuitable for another. Keep the product name, installation information and warranty documents where they can be checked before deep cleaning or treating a mark.
If you are still choosing a floor or need to confirm the type already installed, explore Carpet & Decor’s Wood Vinyl LVT range and ask for the relevant care information for the selected collection.
A Simple Routine for a Clean, Even Finish
1. Remove Loose Dirt First
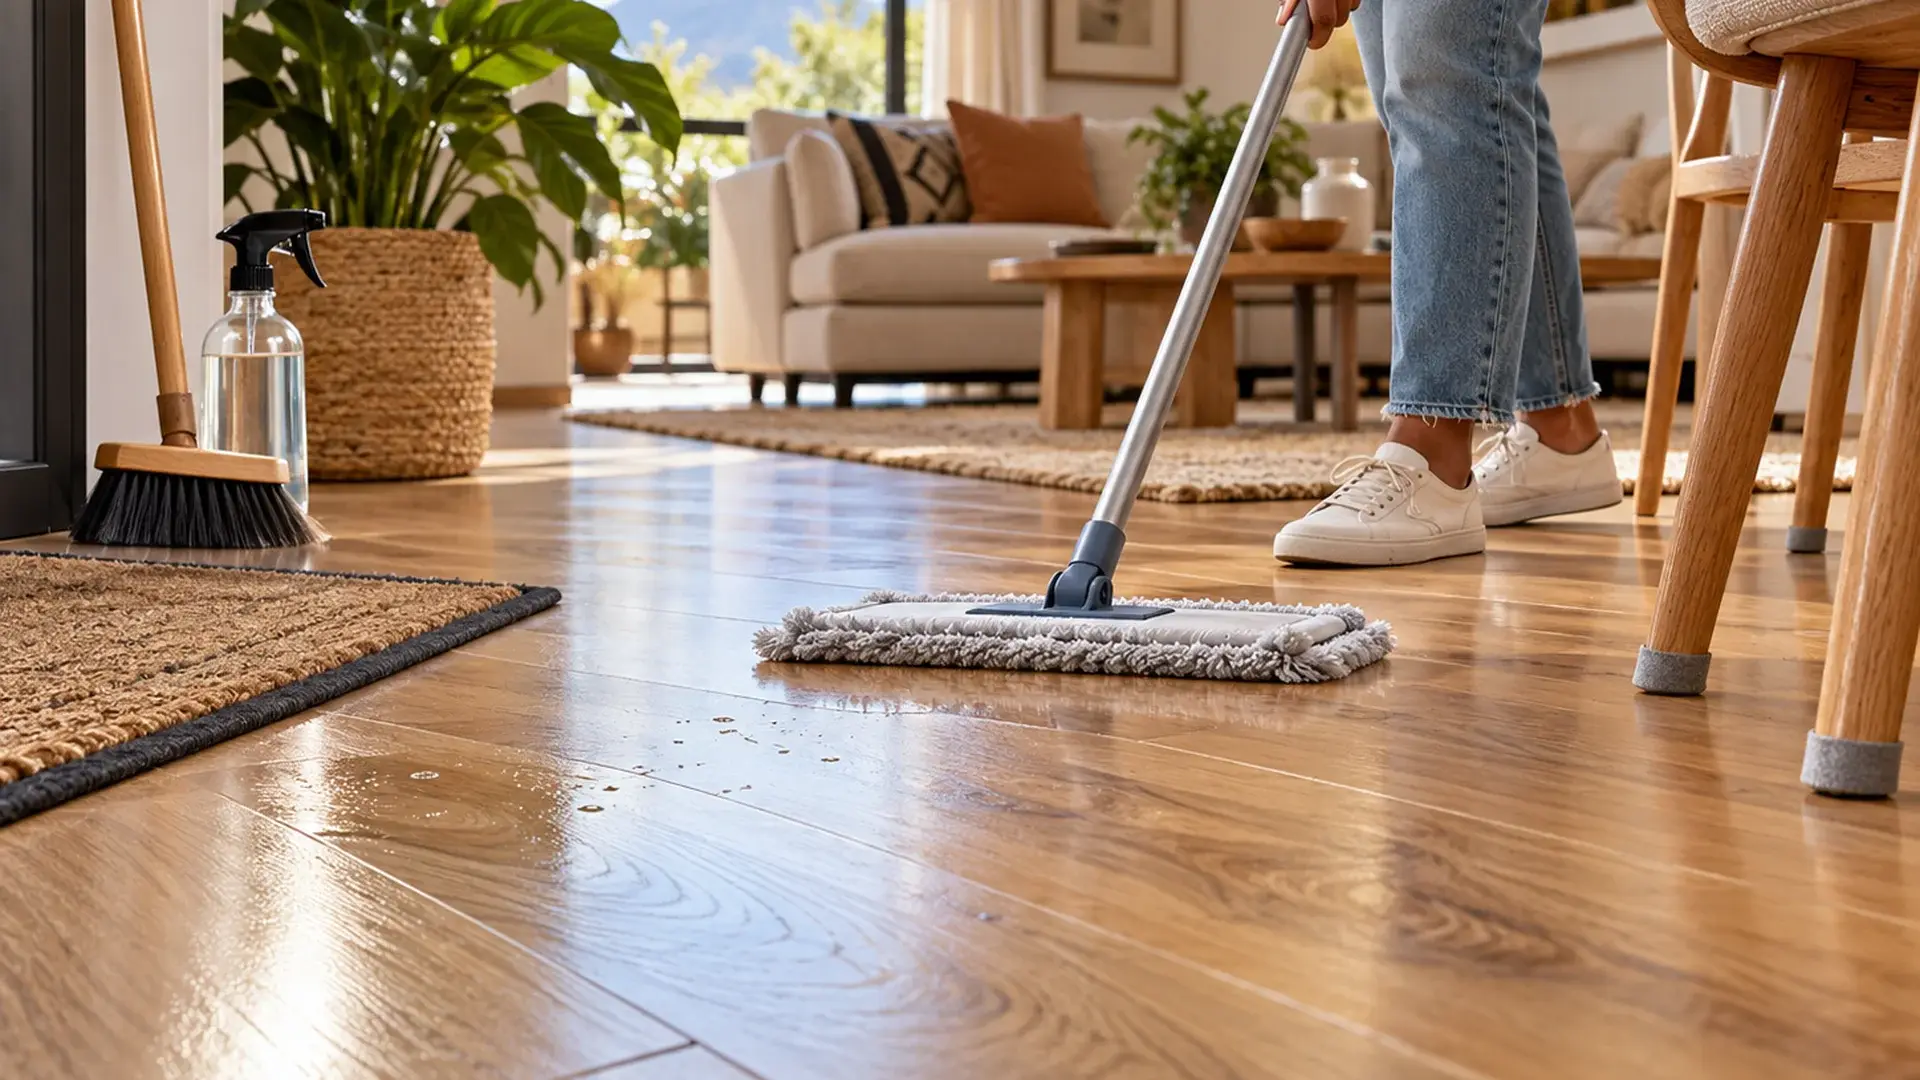
Sweep with a soft broom, use a microfibre dust mop or vacuum with a hard floor attachment. If the vacuum has a rotating brush that could scratch the surface, switch it off. Pay attention to entrances, cooking areas and routes between outside doors and living spaces, where grit tends to collect.
This dry step matters because wet cleaning can turn dust into streaks and move gritty particles across the wear layer. In coastal homes, fine sand may need to be removed more frequently. Highveld dust can also become visible quickly on darker or smoother finishes.
2. Prepare Clean Equipment
Use a clean microfibre pad and fresh water. A loaded mop pad can spread soil rather than collect it, so replace or rinse the pad when it becomes dirty. Follow the cleaner label exactly instead of estimating a quantity. Adding more detergent does not necessarily improve cleaning and may leave a dull film.
3. Damp Mop with Controlled Moisture
Wring the mop well so it is damp rather than dripping. Work in manageable sections and follow the plank direction where practical. Do not flood the surface or allow water to sit at joints, edges or transitions. Although many vinyl products resist moisture well, installation systems, adhesives, joints and nearby building materials still need appropriate care.
Tarkett’s official vinyl care guidance recommends regular dust removal followed by damp cleaning with warm water and a neutral detergent. It also notes that vinyl generally does not need wax or polish to restore its appearance. Read the full Tarkett vinyl cleaning and maintenance guide for further product care context.
4. Remove Residue and Let the Floor Dry
If the cleaner instructions call for rinsing, make a final pass with a separate clean pad and clean water. If a no-rinse cleaner leaves haze, stop adding product and consult the manufacturer before attempting to strip the residue. Drying with good ventilation and a clean microfibre cloth can help prevent visible water marks, but aggressive buffing is not necessary for ordinary residential care.
What Should You Use on Wood Vinyl LVT?
- A soft broom, microfibre dust mop or suitable hard floor vacuum attachment
- Clean microfibre mop pads that can be changed when soiled
- A neutral cleaner that the flooring manufacturer approves
- Soft, colourfast cloths for prompt spill and spot cleaning
- Furniture protectors and entrance mats confirmed as compatible with vinyl
Polyflor also advises regular removal of grit, clean equipment, neutral cleaning solutions, prompt spill removal and protective pads beneath furniture. Its guidance warns that certain rubber-backed mats may discolour vinyl. See Polyflor’s official cleaning and care guidance and always prioritise the instructions for the product installed in your home.
What Should You Avoid?
Avoid treating Wood Vinyl LVT like natural timber. Wax, furniture polish, oil soap and general shine products can leave a coating that attracts dirt, changes the finish or makes the floor slippery. Do not use abrasive powders, rough scourers or sharp scraping tools.
Do not assume household acids, solvents or stain removers are safe. Vinegar, acetone, mineral spirits, bleach, ammonia and alcohol based treatments can react differently with wear layers, printed designs, joints and adhesives. Use a manufacturer-approved spot cleaner and test it in an inconspicuous area when the instructions recommend testing.
Steam cleaning should also be avoided unless the exact flooring manufacturer expressly approves it. Heat and moisture can present risks for some vinyl constructions and installation systems. A product-specific instruction takes priority over general internet advice.
How to Fix Common Appearance Problems
Cloudy or Streaky Areas
First remove loose dust. Then clean a small area with fresh equipment and the approved cleaner at the correct dilution. If the haze improves, old product residue or dirty mop water was probably contributing to the problem. Do not cover the haze with polish. If it remains, ask the supplier which residue removal method is compatible with the floor.
Sticky Patches
Blot or lift fresh spills promptly, then use the recommended spot cleaning method. Sticky residue from tape, adhesive or an unsuitable cleaner may need a specialist product. Do not scrape it with a blade or reach for a strong solvent without approval, as the treatment may leave a permanent dull patch.
Scuffs and Dark Marks
Start with the gentlest approved method: a soft cloth and the recommended cleaner. If the mark does not move, consult the product guide or flooring supplier. Rough pads and improvised solvents can remove or alter the finish along with the mark.
Scratches, Gouges and Worn Areas
Cleaning cannot repair physical damage. Some plank systems allow a damaged piece to be replaced, but the repair method depends on whether the floor is glued or clicked together and where the plank is located. A flooring professional can determine whether local repair, plank replacement or a broader remedy is appropriate.
Protect the Finish Between Cleans
- Place compatible entrance mats where grit and moisture enter the home.
- Use suitable protective pads beneath chair and table legs.
- Lift furniture or use proper moving aids rather than dragging heavy items.
- Clean spills promptly and keep food oils or coloured substances from sitting on the surface.
- Use curtains or blinds to manage strong direct sunlight where the flooring guidance recommends it.
- Keep pet claws trimmed and check high traffic areas for grit more often.
Buyer Tip
Keep the flooring brand, range name, batch information and care guide after installation. When a cleaner or treatment is advertised as suitable for vinyl, confirm that it is also approved for your particular Wood Vinyl LVT product and finish.
How Often Should You Clean Wood Vinyl LVT?
Clean according to use rather than a rigid calendar. Busy entrances, kitchens and homes with pets may need dry cleaning more often than quiet bedrooms. Damp cleaning is needed when the floor is visibly soiled, but repeated wet cleaning with too much product can create its own residue problem.
A practical routine is to remove grit whenever it appears, wipe spills immediately and damp mop as required using fresh equipment. If a newly installed floor needs its first clean, follow the installer’s timing because adhesive curing and installation conditions differ between systems.
When Should You Ask for Professional Help?
Seek advice when the surface remains cloudy after correct cleaning, a stain has changed the colour, planks are lifting, joints are opening, or moisture appears to be entering from below. These problems may not be caused by ordinary dirt and should not be hidden beneath a coating.
For help identifying the floor, choosing a suitable care product or assessing damage, contact Carpet & Decor. Bring the product details and photographs of the affected area so the team can give more specific guidance.
A Clean Floor Looks Better Than a Coated Floor
The most reliable way to restore the fresh appearance of Wood Vinyl LVT is to reveal the original finish, not cover it. Regular grit removal, controlled damp cleaning, clean equipment and product-specific care will do more for the floor than a strong chemical or a quick shine treatment.
By combining the simple habits from Carpet & Decor’s earlier advice with clearer manufacturer-based precautions, this updated routine gives South African households a safer way to manage dust, sand, spills, scuffs and residue while protecting the floor’s intended appearance.
Frequently Asked Questions
Why does my Wood Vinyl LVT floor look dull after mopping?
Dullness after mopping is often linked to excess cleaner, dirty mop water, a soiled pad or residue that has dried on the wear layer. Remove loose grit, use fresh equipment and follow the approved cleaner’s dilution instructions. If haze remains, ask the flooring supplier for a compatible residue removal method rather than applying polish.
Can I use floor polish to make Wood Vinyl LVT shinier?
Do not apply floor polish, wax or a shine product unless the manufacturer of the exact flooring range approves it. Many modern vinyl floors have a factory-applied surface treatment designed to be cleaned rather than coated. An unsuitable polish can create haze, attract soil, change slip behaviour or complicate later maintenance.
How do I remove cleaner residue from Wood Vinyl LVT?
Begin with the care guide for your flooring. Use clean pads and the manufacturer-approved cleaner or residue removal method, working on a small test area first. Avoid commercial strippers or improvised solvents unless they are specifically permitted. If the residue is heavy or the finish changes, stop and contact the supplier.
Can I use a steam mop on Wood Vinyl LVT?
Only use a steam mop if the manufacturer of your exact product expressly allows it. Heat and moisture may affect certain wear layers, adhesives, seams or click joints. A damp microfibre mop with an approved cleaner is the safer general routine when product instructions are unavailable, but the original warranty guidance should always decide.
Can rubber-backed mats discolour Wood Vinyl LVT?
Some rubber-backed mats and rubber furniture components can react with vinyl and cause staining or discolouration. Choose an entrance mat or rug backing confirmed as compatible with the flooring, and inspect the area beneath it periodically. If you are unsure, ask the flooring manufacturer or supplier before placing it permanently.